Showing posts with label Projects. Show all posts

Thursday, February 7, 2013

Valentine Project

Emma Kate and I ventured out to Michael's this week.
Very dangerous for us girls!
But we needed some supplies for Connor's Cub Scout Den Meeting which
we were hosting that night.
And of course we had to check out the "Dollar" Section!
Don't you just love how things aren't always $1 in the Dollar Section?
 
At any rate, we found these really cute wood chip letters ($2).
 
And some sweet paper ($2).

 
And when I found these frames an idea came to mind. ($2 each.)

P.S. Every year I try to add some sort of new decoration to add to our collection for each holiday.
 
So when we got home I set to work and came up with this little sign for our mantle.
Total cost: $12 plus tax:)

Yes, it's very crafty looking, but I *Love* it!!!
 

Monday, February 4, 2013

Computer Desk Renovation

When we first learned that we were expecting Emma Kate I knew we were going to have to get creative with our bedroom/office situation. We have a 4 bedroom house and with the 2 boys and the office...well you do the math...something had to give.
So we disbursed our office kind of throughout the house to allow Emma her own room.
I feel bad because the office was mainly Jeff's space:(
Sorry honey!
P.S. It's hard to believe we only a year and a half till Dom goes to college and we will once again be in "room transition."
 
Anyway, I digress...
We had purchased this gem for downstairs, transforming our dining room to a sort of "study."
I did like that it meant bringing the computer down into the main living space, which with all the kids in the house, was a great idea.
I knew that the "desk" had to be something of which I could close up and hide the contents.
I have never been one to keep a clean desk at home.
This thing is a monster! But it does the job.
Let's take a look inside... 
Yup! That's right! Horrific!
And people think I am organized!
 
Finally I had had enough. Due to some Pinterest inspiration it was time to make a change.
Not to mention, it had been a year since the purchase of a laptop, which found it's home on the dining room table, leaving the unused PC still in the computer cabinet.
 
After some renovation... 
Not bad ehh??!!
 
I decided it was time to not only make it our office/homework space, but the kids' art space as well.
All of our art supplies have been jammed up in one of our kitchen cabinets and they needed some breathing room! 
A Before close up... 
And After... 
Each clear bin has different art supplies in it.
I used a Mason Jar for paint brushes.
Up to the right lie our 2 paper bins, 1 with color and 1 with white.
Coloring books below that.
And the row of Ikea boxes houses computer cables, staplers, some CD's, etc...
If I was really good I'd have them all labeled too.
Maybe someday...
 
Now lets look below... 
As you can see, this is a place where stuff just gets stashed.
It is also where my hubby keeps his phone, keys, hats, etc...
P.S. Does anyone else's husband have a ton of hats? Arghh!
 
And After... 
 
Here's the trick...keeping it this way!
I tried to make it as functional as possible, allowing for it to stay under control.
One of the hardest parts is with 3 kids there is so much paperwork!
Not to mention my own paperwork, bills, etc...
All of it easily piles up.
So to keep up with that, I'm not gonna lie...I have a "dump" area for things I just can't file or do anything with immediately...

2 baskets right on top of the cabinet.
Just within arm's reach to drop and deal with later.
 
There are few things that I like better than to feel organized in my home.
Everything in life just feels better.
And this time of year always brings with it the
"bug" in me to get on top of things again.
 

Thursday, July 19, 2012

Lilly's Two!

Recently a girl at work hired me to take her daughter's 2-Year-Photos.
I cannot tell you how much fun I had with this little girl!
 I still cannot get over Lilly's outfit!

 We went to The Shadelands Museum in Walnut Creek to take her photos.
It was the perfect backdrop.
So pretty there!


Lilly's mom had these little Converse made for her...

Thank you "B," for allowing me to spend a fun afternoon with your little princess!

Sunday, July 8, 2012

4th of July Kickoff

Last Tuesday night Jeff and I went to an A's game with some friends of ours, J and E.
I had full trust in E, who got the tickets for all of us...
and she did not disappoint!
The seats were AWESOME! 
You see, J is from MA, and E lived there quite a while too, so they are big Boston fans.
Jeff and I are really Giants fans, however when the A's are playing anyone, but the Giants, we'll root for them.
Some of us get a little more into the cheering than others:) 
Jeff and I were super excited to see Cody Ross, who once was a fave of ours on the Giants, now playing for the RedSox.
(E was confused as to why I was cheering for the A's the whole game, except for when Ross was up to bat. Once a fan...always a fan!)
 We had such a fun time cheering for the opposing teams and taking some fun pics...
 To top it all off...the A's won!!!
After a little victory celebration, fans were let onto the field for a Post Game Show...
Fireworks!
We stayed in our seats to watch.
 One of the best firework shows I have ever seen!
Even though it made for a very late night, it was a great way to kick off the festivities for
"The Fourth!"

Friday, September 30, 2011

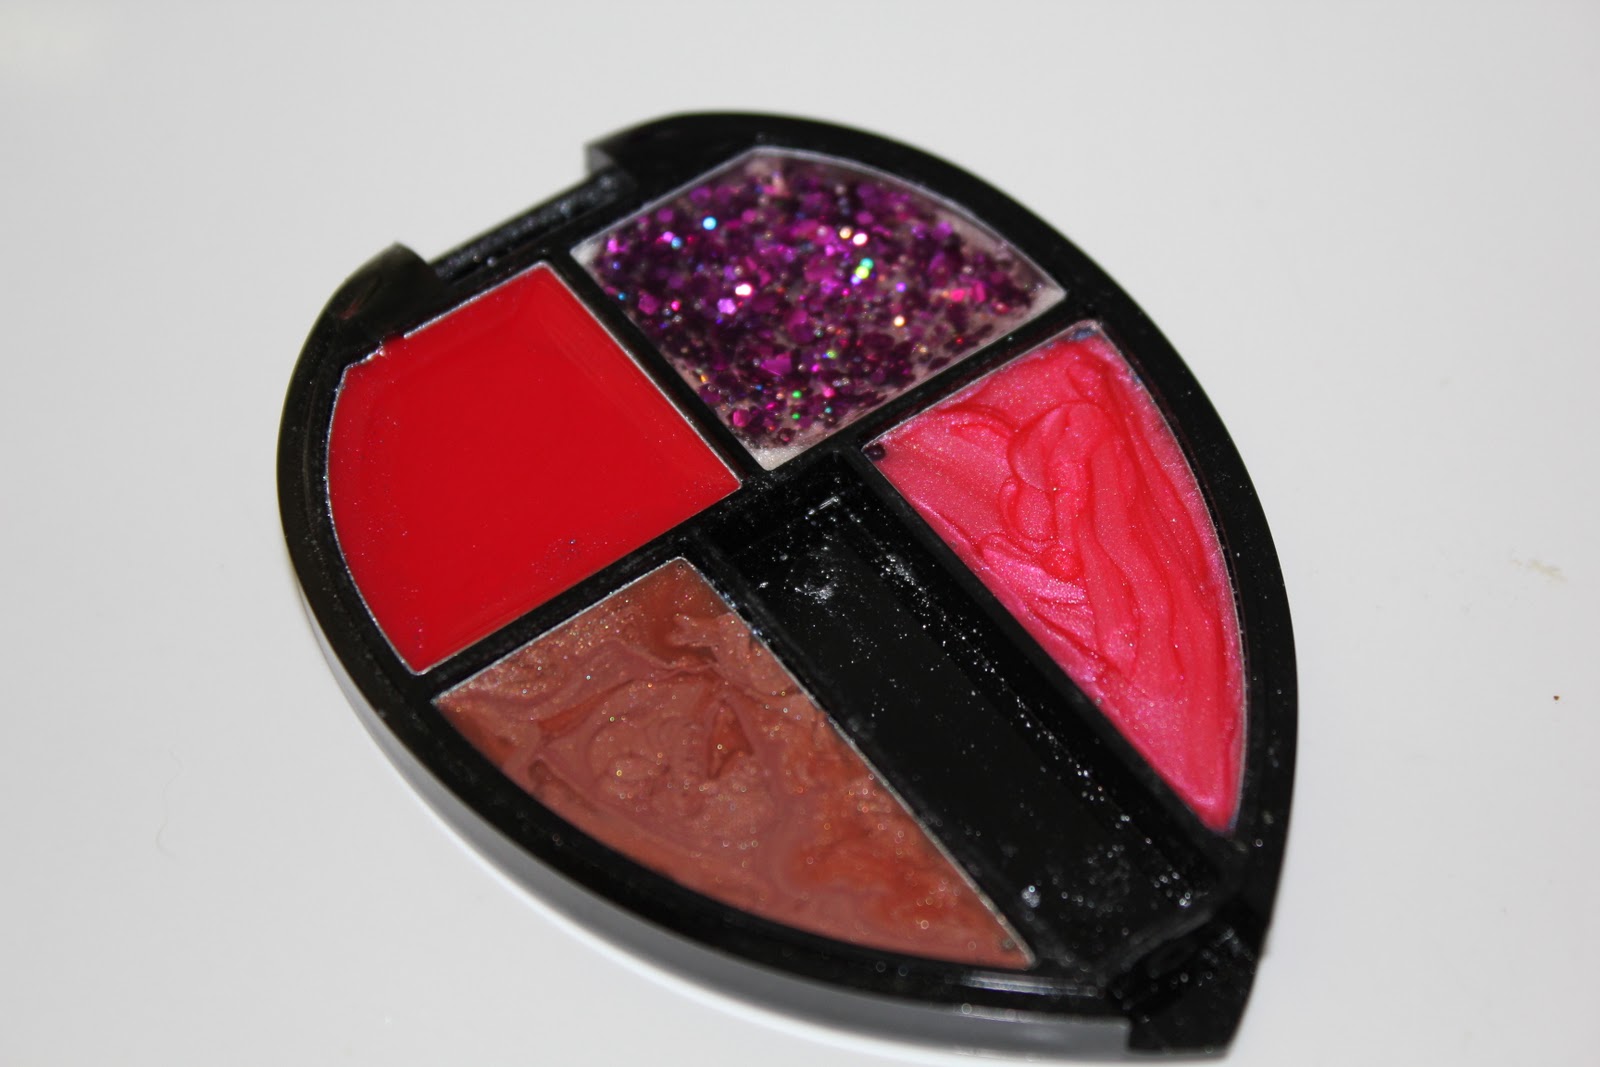
How To Make Play Makeup

One thing I love about the "Blog World" is that there are so many great ideas out there.
So many that I NEVER would've thought of on my own!
For example, I was over here and learned a very clever way to make play makeup for Emma Kate. 
She is always trying to put on my makeup and I know it's only going to get worse.

So here you go...
Go to The Dollar Tree, or whatever dollar store you have near you, and pick up a variety of makeup compacts, as well as some different colors of nail polish. (Or use some of your old makeup compacts and polishes you don't use anymore.)

Use a knife to dig out the makeup from the compact, wash, and then dry.
(If you're like me...resist the temptation to actually keep and use the makeup yourself. As I was doing this, I thought, "This color is actually kinda pretty...")


Then pour your polishes into the compacts.


Let dry for 2-3 days. If it's not as thick as you'd like, repeat the process.


And there you have it, replace the applicators, get some makeup sponges, and have some fun!

I also thought this could make a really cute birthday present for a sweet little girl in your life.
Fill a cute little makeup bag and wrap it up:)